A Science-Based Approach To Maximizing Muscle Growth
5 Things To AVOID For Muscle Growth (+ 5 Specific Tips To Get MORE Out Of Every Rep Performed)
In this article, I’m going to teach you exactly how to get the most muscle growth out of every single rep you perform in the gym.
And I decided to make this video because I feel that it’s important for you, the everyday lifter, to have the capability to identify the weak links in your gym performance. Which I see most commonly being junk volume, poor levels of effort, suboptimal exercise selection, and inaccurately applied tension.
I’ll elaborate further on these weak links, starting with junk volume…
Junk Volume:
Junk volume is exactly what it sounds like… wasted volume!
Junk volume is the training that’s taxing and still causes a lot of fatigue, as if it was stimulative training, without it actually being stimulative training. In fact, this could actually encompass the next few weak links we see in the gym because each of them could be summarized as junk volume.
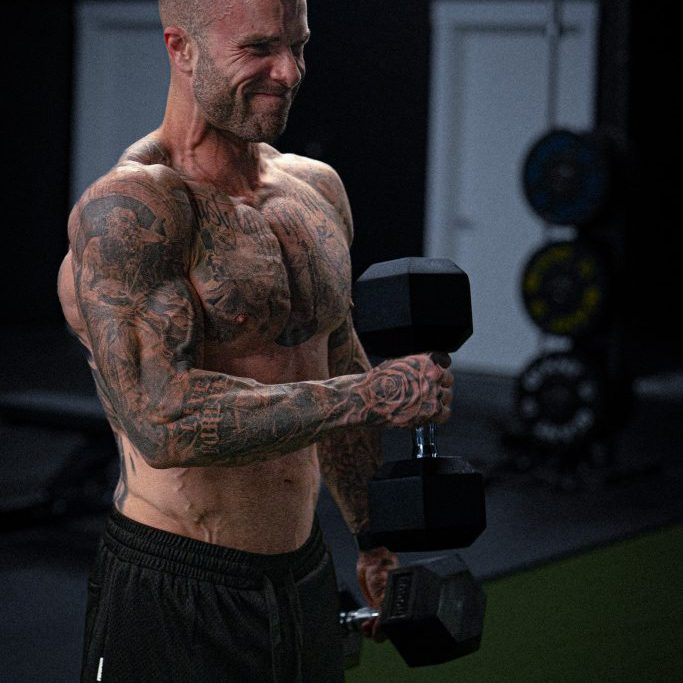
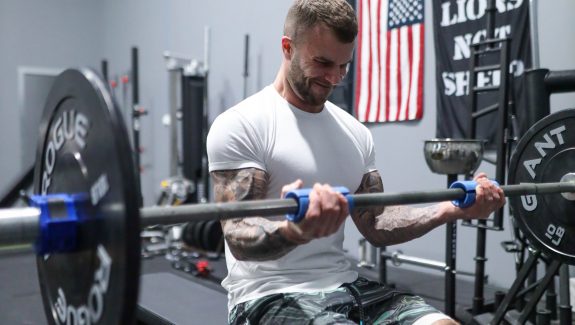
An example would be doing 3 sets of bicep curls with weight that’s too heavy for you to NOT swing with. This causes you to hyperextend your back, fire your traps, place unnecessary tension on your joints and tendons, and use more momentum than actual muscular force to curl the weight. This leads to less bicep growth and more fatigue, potentially even pain, everywhere else.
Using junk volume more so as an umbrella term, we can sub-categorize this into 3 main training mistakes people tend to make.
To see how these concepts fit into a complete transformation system, check out our [Ultimate Guide to Online Fitness & Nutrition Coaching].
Poor Effort:
Plain and simple, you’re just not training hard enough if this is what’s holding you back in the gym.
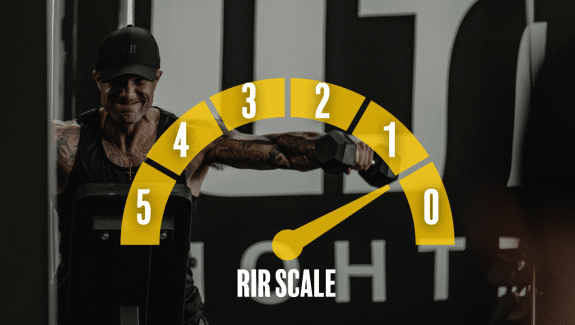
Research shows we need to get near failure in order to fully stimulate and optimally build muscle tissue. More specifically, distance between your last rep and total failure needs to be around 1-3 reps away – meaning you will get 1, 2 or 3 reps from complete failure.
This proximity to failure is difficult for some to actualize in their training because they have not experienced true failure in the gym. It can also be difficult for some because they don’t have the skill as a lifter of firing a muscle to its absolute maximum capacity and/or in pushing it to or beyond both physical exhaustion and psychological discomfort.
Point being, you got to train hard in the gym. Likely harder than you think you are. There are some tools and tips to help you figure out if this is your issue or not, as well as how to fix it, that we’ll dive into here soon.
Suboptimal Exercise Selection:
This is a very individualized aspect of the training process and when someone is getting this part wrong, it can be difficult for them to pinpoint the issue unless they have a coach watching or telling them what exercises to do.
But if you look out for some very specific key indicators, you can absolutely begin to pinpoint what exercises just won’t work great for you, as well as which ones WILL work great for you, so that you can begin to nail down which ones to use in your training.
First, how do we know it’s NOT a great exercise for you?
- No pump
- Joints hurt
- Mind muscle connection ain’t there
- Fatigue isn’t localized
- Not progressive
You can also simplify it further and just rank it by using SFR (Stimulus to Fatigue Ratio) as your grading rubric. An example of using this would be if an exercise DOES give you a decent pump, you have an ok mind-muscle connection, it’s not overly fatiguing to the muscle you’re targeting but it does the job, etc…. I’d give it an “ok ranking” on the stimulus side, maybe a B- or C+.
However, when ranking the fatigue side of this equation, this exercise just crushes you head to toe. The target muscle is sore, but so are secondary muscles and your joints, you just feel rundown, etc…. That probably means the fatigue is too high compared to the stimulus and it’s not a great exercise to run with.
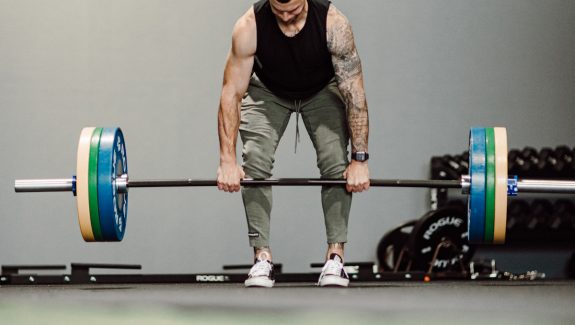
The deadlift is an example of this, when it comes to hypertrophy. Great strength builder and at times, even a good muscle growth exercise. But it hits too many muscle groups to be specific AND it’s globally fatiguing as hell, as well as packs a high injury risk. All of this just means that it’s suboptimal for maximizing hypertrophy, if using the SFR grading scale.
Using this example, I’d suggest implementing exercises that feel great for the target muscles you intended to hit with the heavy conventional deadlift. For me, that’d be Stiff Leg RDL’s for Hamstrings, Back Extensions for Erectors, Abductions for Glutes, Pulldowns for Lats, and Shrugs or Reverse Flyes for Traps. Spread those out across a weekly program and you’d be able hit each muscle individually with more direct stimulus, heavier loads, and far more overall volume per muscle, due to the tension applied over the course of multiple sessions.
Inaccurately Applied Tension:
Finally, we have misapplied tension. Which really piggybacks off of the last point, but that’s ok because it’s worth pointing out individually in my opinion.
With this mistake, it’s often going to occur due to poor exercise selection again… However it’s even more common to occur due to poor exercise technique and execution.
For example, if you’re performing a lat pulldown with an ultra wide grip and you’re not properly depressing (pulling down) and adducting (pulling inward towards midline) your scapula, simultaneously… You’re not going to fire your lats properly. You may be making this mistake in this exact exercise due to poor thoracic extension and mobility or simply from not understanding the mechanics of your body and joints.
When doing this exact thing with the lat pulldown, you will turn the pulldown into a “Teres Pulldown” – this is the tiny muscle group just below your rear delt, which actually helps your rear delts look more developed. So in one sense, you SHOULD be hitting this muscle! But in the other, it’s still misapplied muscular tension if you’re aiming for lats and hitting your teres major/minor instead.
What you would do here is simple, though… Bring your grip in a little close, potentially switch to a neutral handle if possible, and then focus on properly scapular and thoracic movement, in order to fire the muscle you’re targeting and direct all the tension towards that intended muscle.
Another option, which is usually the best way to go with regards to the lat pulldown specifically, is to change it entirely by switching to a unilateral pattern. This means performing the pulldown as a single arm variation, instead. This typically allows people to create a bigger ROM and apply the tension to the lat directly, much easier.
So just remember… Muscle ONLY grows when tension is applied and the stimulus is great enough to cause real stress on the muscle, which triggers a process of muscle growth. In order for this to happen, you need to direct the tension coming from the overloaded range of motion to the specifically intended muscle group.
You can accumulate all the volume you want, on paper… But if the volume doesn’t consist of specifically directed tension applied over time, it’s all junk volume (or just not as effective volume, really). Put simply, this means that you need to have great technique that allows you to be intentional with your exercises. If you don’t, you will target multiple secondary muscle groups during any given exercise, which takes away from the stimulus applied to the target muscle and slows down your muscle growth over time due to overall volume dropping.
5 Ways To Get The Most Out Of Every Rep Performed, To Maximize Your Muscle Growth:
Ok, so now you know WHAT you could potentially be doing wrong in the gym and WHY its most likely holding you back from making your best gains ever…
We can dive into 5 specific things that will allow you to truly get the most out of every single rep you perform, helping you speed up the muscle growth process and completely avoid wasting time by accumulating junk volume in your training sessions. These 5 things are:
-
Maximize the stretch within the range of motion.
-
Get within 2 Reps of failure on every working set.
-
Only use stable exercises.
-
Progress volume over the course of weeks.
-
Take longer rest periods, to maximize volume per set.
LET’S DIVE IN AND GET JACKED!
#1 – Maximize The Stretch (Lengthened Position)
Research has shown a lot as of late, that the stretch portion of any range of motion is highly beneficial to muscle growth. More specifically, stretching a muscle under load causes more growth than just about anything else does.
The easiest ways to take advantage of this strategy would be to either accentuate the eccentric (negative) portion during a range, add a pause once the stretch within a ROM is actualizing, or specifically choose exercises that prioritize the stretch within their ROM. You can, and often should, even manipulate exercises to encourage more of this.
Here’s an example of each of these strategies:
Accentuated Eccentrics
This is where we simply exaggerate or increase the time under tension, during the eccentric portion of the movement. But more specifically, based on the conversation and goals of increasing tension during the lengthened range of motion for the muscle you’re training, the exercise you choose for this MUST be one that focuses on the negative. You can even manipulate the exercise a bit to accomplish this, such as I do in this video below by only performing the negatives unilaterally:
Pausing At The Stretch
There’s two ways to do take advantage of pausing at the stretch during an exercises’ range of motion. The first, and most simple or obvious way, is to literally just pause when you reach the point of a muscles’ deepest stretch and most lengthened position, within the rep/movement:
The second way, that has been more popularized since the research on overloading a stretched muscle has came out, is to exaggerate this by increasing the time under tension during the stretch. A great example here is to perform extended-set partials, which can see in the video below and is when you perform your prescribed reps and then add as many partial reps, in the stretched position, as you can after finishing that final rep:
Choosing or Manipulating Exercises to Enhance The Stretch
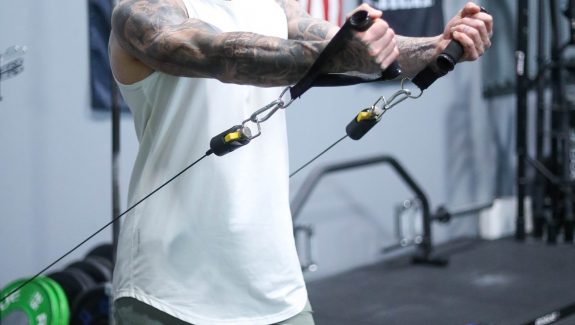
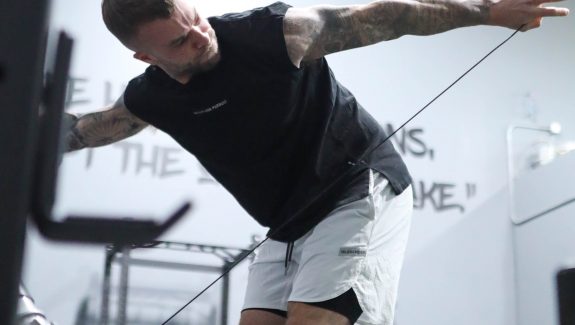
This is taking advantage of the stretch by manipulating an exercise variation, to allow for an even greater stretch at the end of an exercises’ range of motion. A great example of simply choosing an exercise variation for it’s unique range of motion, which creates a larger stretch on the muscle, would be choosing a unilateral cable chest fly instead of a bilateral cable chest fly, due to the ability to slightly rotate and position your body in a way for a larger emphasis on the stretch:
Similarly, this is why unilateral pulldowns and rows are often a better choice for building your lats. Performing the row or pulldown in a single arm fashion allows for a greater range of motion, since your lats also aid in trunk lateral flexion (e.g. think “oblique crunch”), and both a harder contraction in the shortened position, as well as a larger amount of tension in the fully lengthened (stretched) position:
Another example of this, that takes it a step further by manipulating a stretch-based exercise to create an even bigger amount of tension and overload during the stretched phase (i.e. lengthened muscle), is the Deficit Stiff Leg Deadlift. This exercise already creates a large stretch, but by standing on a plate to create a deficit – you create an even larger stretch:
#2 – Train Near Failure, During Most Sets
We know, based on research, that if we’re not training within 3 reps of failure — then our training is simply not stimulating muscle growth as much as it could be, especially since beyond the beginner stage of lifting.
This means we need to push ourselves harder than our comfort zone typically allows for and test the boundaries of failure, to make sure we’re truly getting within a close enough proximity of absolute failure.
The simplest way to ensure you’re abiding by this principle is to the RIR scale. I would specifically suggest doing so in what I refer to as “a descending RIR across sets”. This means across, for example, 4 sets you would drop the RIR on each progressive set, making each set more and more difficult (and therefore closer and closer to failure). This would read on a training plan as RIR: 3, 2, 1, 0… this means you’re taking every last set to failure.
You could also average this out and simply reach a 2 RIR on every set, which could be a safer route… also a more boring route with less exploration into the realms of failure training, which have their own benefit of testing your efforts to ensure you truly are reaching the RIR you believe you’re reaching.
#3 – Stop Using Un-Stable Exercises & Start Choosing Stable Exercises
I’ll break this one down in one simple example:
- Basketball players squatting on a physio-ball… This is NOT SMART, unless those basketball players are preparing to play ball on the court during an earthquake! Because the floor is stable and they need to create strength, force, and stability on THAT specific type of surface.
Now, that’s not to say you should NEVER do unstable training. If your goal is to be great with functional movements, you’re doing some rehab, or you literally just want to become great at squatting on a bosu-ball, you can totally do all that unstable “functional bodybuilding”. But if your goal is to build serious muscle, the best way to train is not functional bodybuilding (defined as unstable CrossFit like training, marketed for physique enthusiasts).
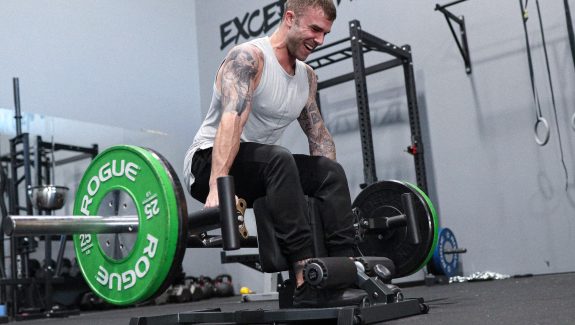
The best way to train is accomplished by choosing stable exercises, because this allows you to USE the stability already presented for you by the floor, rack, machine, etc… and ONLY focus on overloading the muscle, with great technique. This will allow the greatest amount of mechanical tension and overall volume, leading to the greatest amount of muscle growth.
Here’s a deeper explanation, from my instagram:
View this post on Instagram
Here’s 3 Example Exercise Swaps:
-
Standing OHP for a Seated Smith Machine OHP
-
High Bar Squat for a Leg Press or Hack Squat Machine
-
Standing Chest Fly for a Seated Chest Fly
#4 – Progress Your Volume Across Weeks Of Training
Volume is known as the primary drivers of hypertrophy, however it’s not actually the “driver” of hypertrophy. But rather, it’s how we measure the driver… See, the driver for hypertrophy is mechanical tension. That’s the load and stress we place on the muscle. Now, how much of that we do is the easiest way to both calculate and progress the amount of muscle growth we accomplish and THIS fact makes volume an extremely important metric to be aware of and tool to use for better results.
When it comes to progressing this volume over-time, which most people fail to do and limit their progress greatly, you need to have a structured approach that allows you to slowly but surely accumulate more volume over time.
There are 3 primary ways to do this:
(1) Linear Progressions:
This is the classic way that most people do understand and implement, which is simply progressively overloading the amount of weight they’re lifting. Put simply, add weight to the bar every week (or as often as you can) and you’ll continue to increase the total amount of tension placed on a muscle (i.e. volume) for muscle growth.
(2) Add Sets Weekly:
You can add volume a bit more literally, which might be easier to track and also guarantee, by adding 1-2 sets per session/muscle/week. This is a popular form of progression in the bodybuilding world because you can cycle the volume progressions over the course of many weeks and it almost always guarantees muscle growth, since adding set volume is proven to work extremely well for hypertrophy.
(3) Increase Frequency:
When you increase the frequency in which you train a muscle, which is literally just training the muscle more often each week, you’re once again guaranteeing more set volume across the week, month, and year. This can easily be done by adding a few sets of “lateral raises” on your leg day, leading to an extra day of training delts and overall more total volume placed on the delts.
#5 Take Longer Rest Periods, To Maximize Hypertrophy
Research suggests that when rest periods are longer, allowing you to fully recovery between sets, you’re more likely to perform with harder efforts and intensities, as well as have the capability to lift heavier and for more reps. All of this leads to more muscle growth and strength, which is literally what the studies conclusions show happening in the groups performing sets with longer rest periods. This leads us to suggest taking your time, lifting heavy, and not trying to train for a sweat, a constant burn, or to have your heart rate through the roof! Those are not predictors for hypertrophy, by any means.
Considering This Table For Your Rest Periods:
| Compound Lifts | Rest at LEAST 2 minutes and up to 5 minutes. |
| Accessory Exercises | Exercises, such as rows and lunges, rest at least 1.5 minutes and up to 3 minutes. |
| Isolation Exercises | Exercises, such as bicep curls and lateral raises, rest 1 to 2 minutes. |
| Supersets | When performing an exercise as a superset, rest between 30 seconds and 1 minute between exercise A and exercise B, while resting 2-4 minutes between full rounds. |
Conclusion:
Use this article as your guide to know and understand both what to avoid, as well as what to emphasize and focus on, when it comes to muscle growth. If you do, I can guarantee that your progress will be better and you will build more muscle over time!
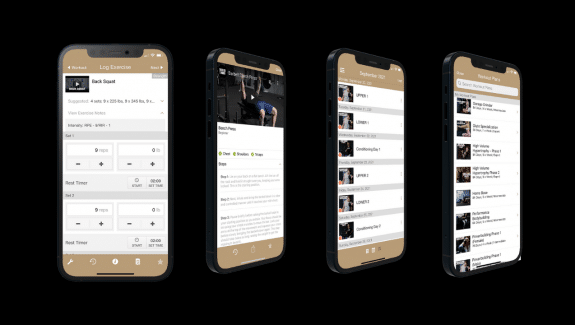
If you’re still struggling to write your own programs, though, visit the app-store and try out the Tailored Trainer — you’ll receive a free 7-day trial to use the app and test out my exact training programs, taht are based on the scientific research and backed by the results of thousands of people just like you.
And as promised above, watch the full YouTube video version of this article below:
