When it comes to training and nutrition, there are 3 components that make results last. Individualization, education, and connection. That's why it’s our mission to provide world-class coaching, over the top education, and non-stop accountability, to guarantee our clients achieve the results they came to us for AND understand how to sustain them after they’re gone.

Why I Created Tailored Coaching Method For You
Tailored Coaching Method is a Lifestyle Coaching Company, focused on fitting the training and nutrition to the client and not the other way around. We’ve built our foundation around the fact that every single person we come in contact with is a different individual: different body, goals, hormones, social responsibilities, schedules, dietary history, and views on what “being fit” really means.
When it comes to training and nutrition, authentic coaching and education is the key to results that last forever. At Tailored Coaching Method, it’s our mission to provide world-class coaching, education, and accountability to guarantee our clients achieve the results they came to us for. Our online fitness and nutrition coaches bring passion and years of experience to help you get results. Here's why it works.
Whether you’re looking for fitness coaching, nutrition and macro coaching, or wellness coaching, the Tailored Coaching Method has you covered. For more details on exactly what we do, check out our Tailored Coaching videos or read through our blog where we have hundreds of free articles to help educate you further.

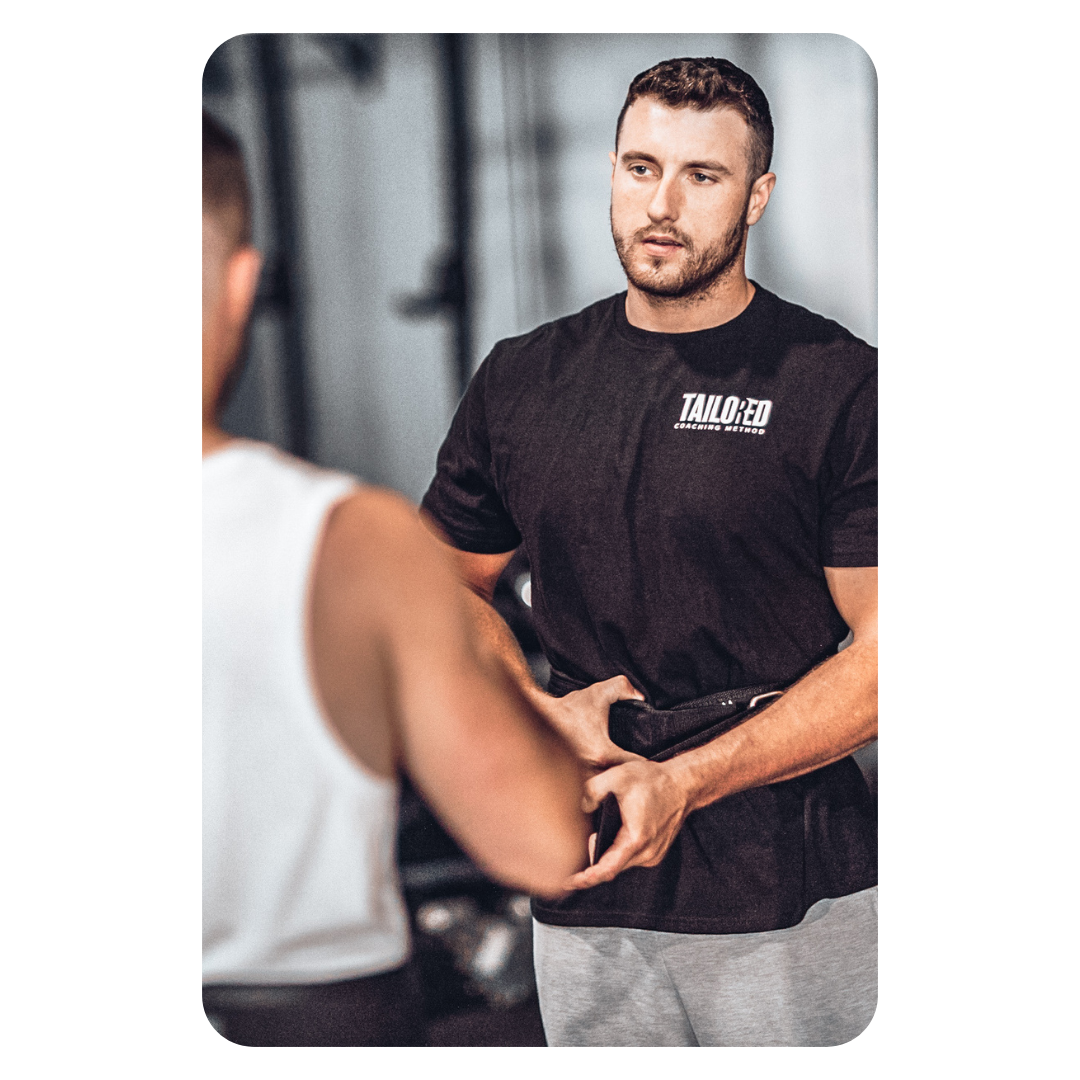
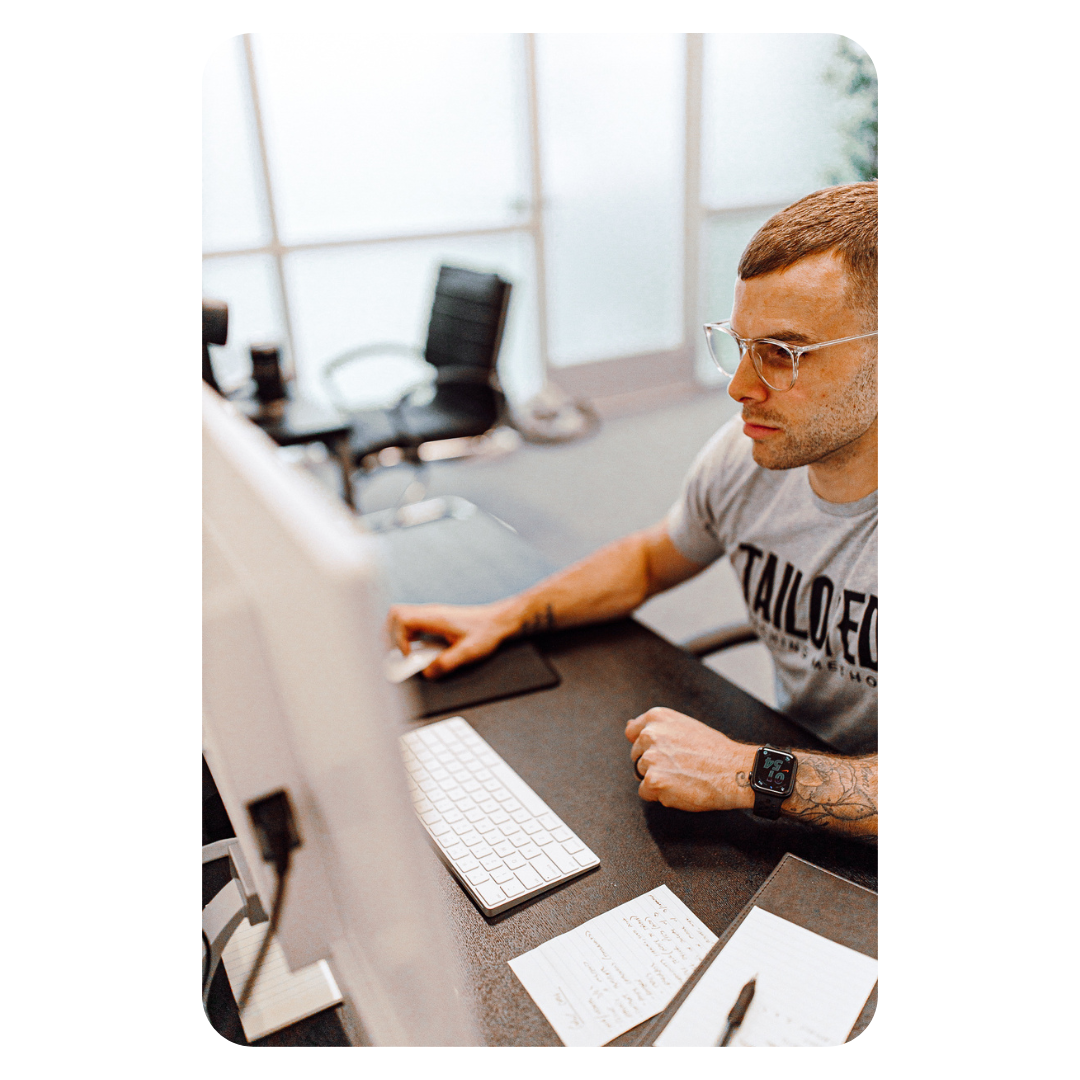
Meet Our Coaches
Free Articles
Hundreds of Free Articles, Based on Science and Backed By Coaching Experience
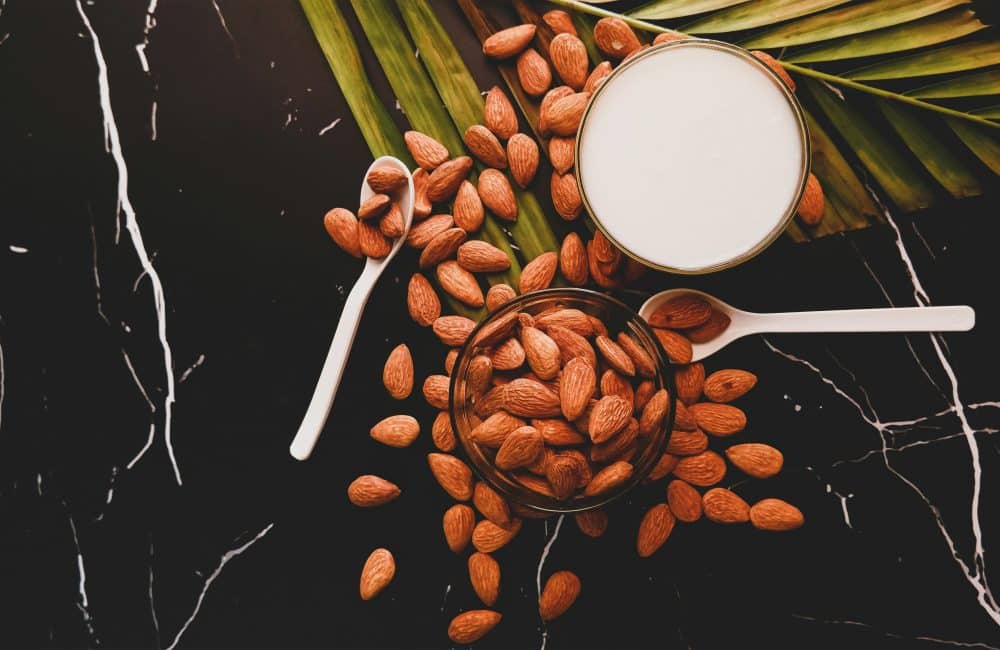
Almonds: A Healthy On-The-Go Snack Almonds have been cherished throughout history, from ancient civilizations to modern kitchens, for their distinctive taste and health benefits. These nuts, native to the Middle East, have now become a global favorite. This blog explores the nutritional profile of almonds,…


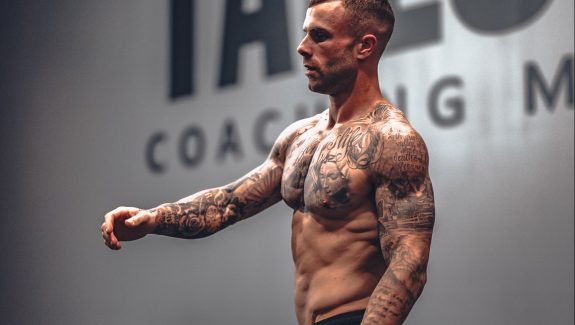

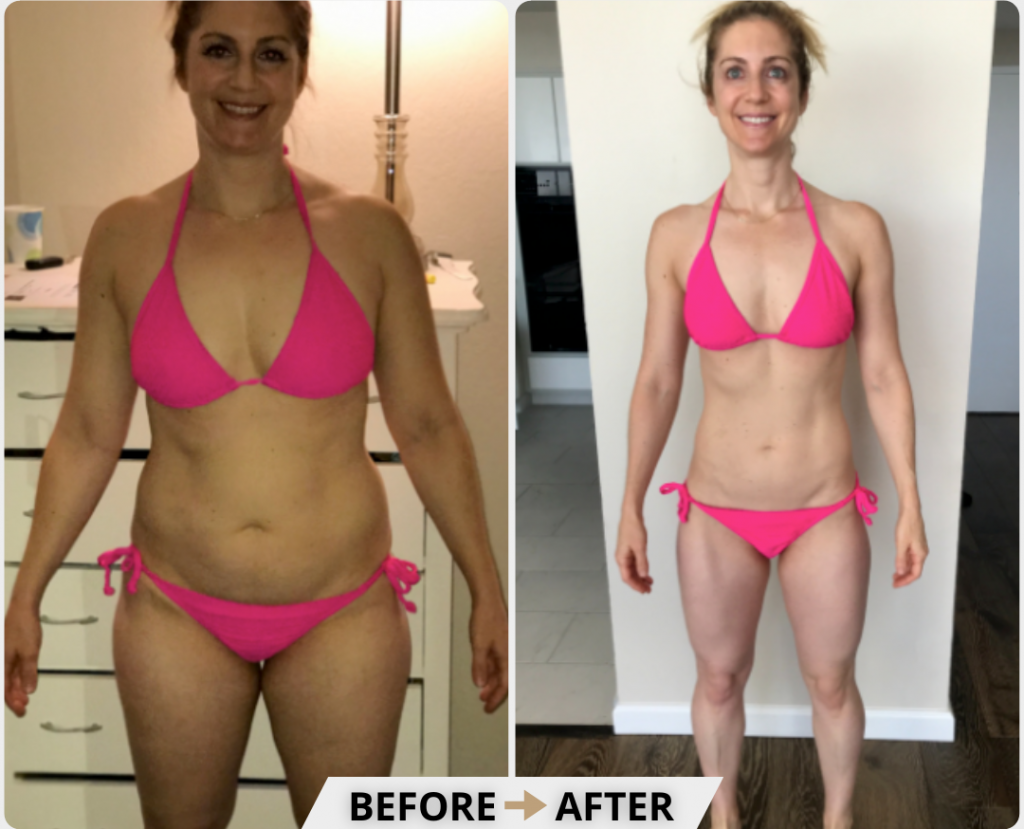
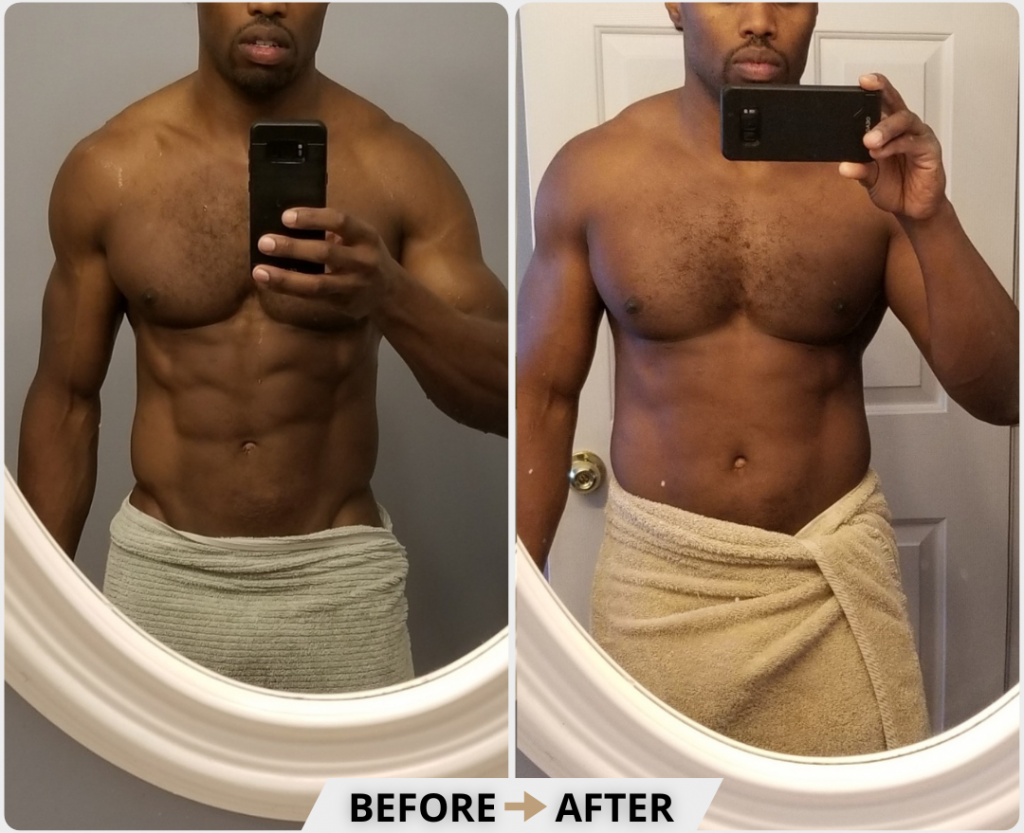
Helping YOU Achieve Your Physique Goals
Transforming your body comes from having a strategic plan, designed individually for your body and your lifestyle. After that, it’s consistency and commitment that creates the results you’re searching for. Training with a fitness coach at your local gym ties you to that person’s schedule and to the gym’s hours. The beauty of working with an online personal trainer is getting to workout where you want, when you want. Plus, you’ll get 100% full time access to your fitness coach online if you have any questions.
Most of the time, people make it out to be more complicated than it needs to be…This is exactly where we come in to provide the solution for your personal breakthrough. Our wellness coaches create a completely individualized plan that’s easily understood, so you can actually stick to it long-term (both training and nutrition). Part of what has made our coaching so successful over the years is that we provide the constant support, education, and accountability that’s needed in order to see real results that actually last. Check out this page to learn more about our Tailored Training Method and get started today.
Our Products & Services
Learn More About All We Have To Offer You


")
")
")